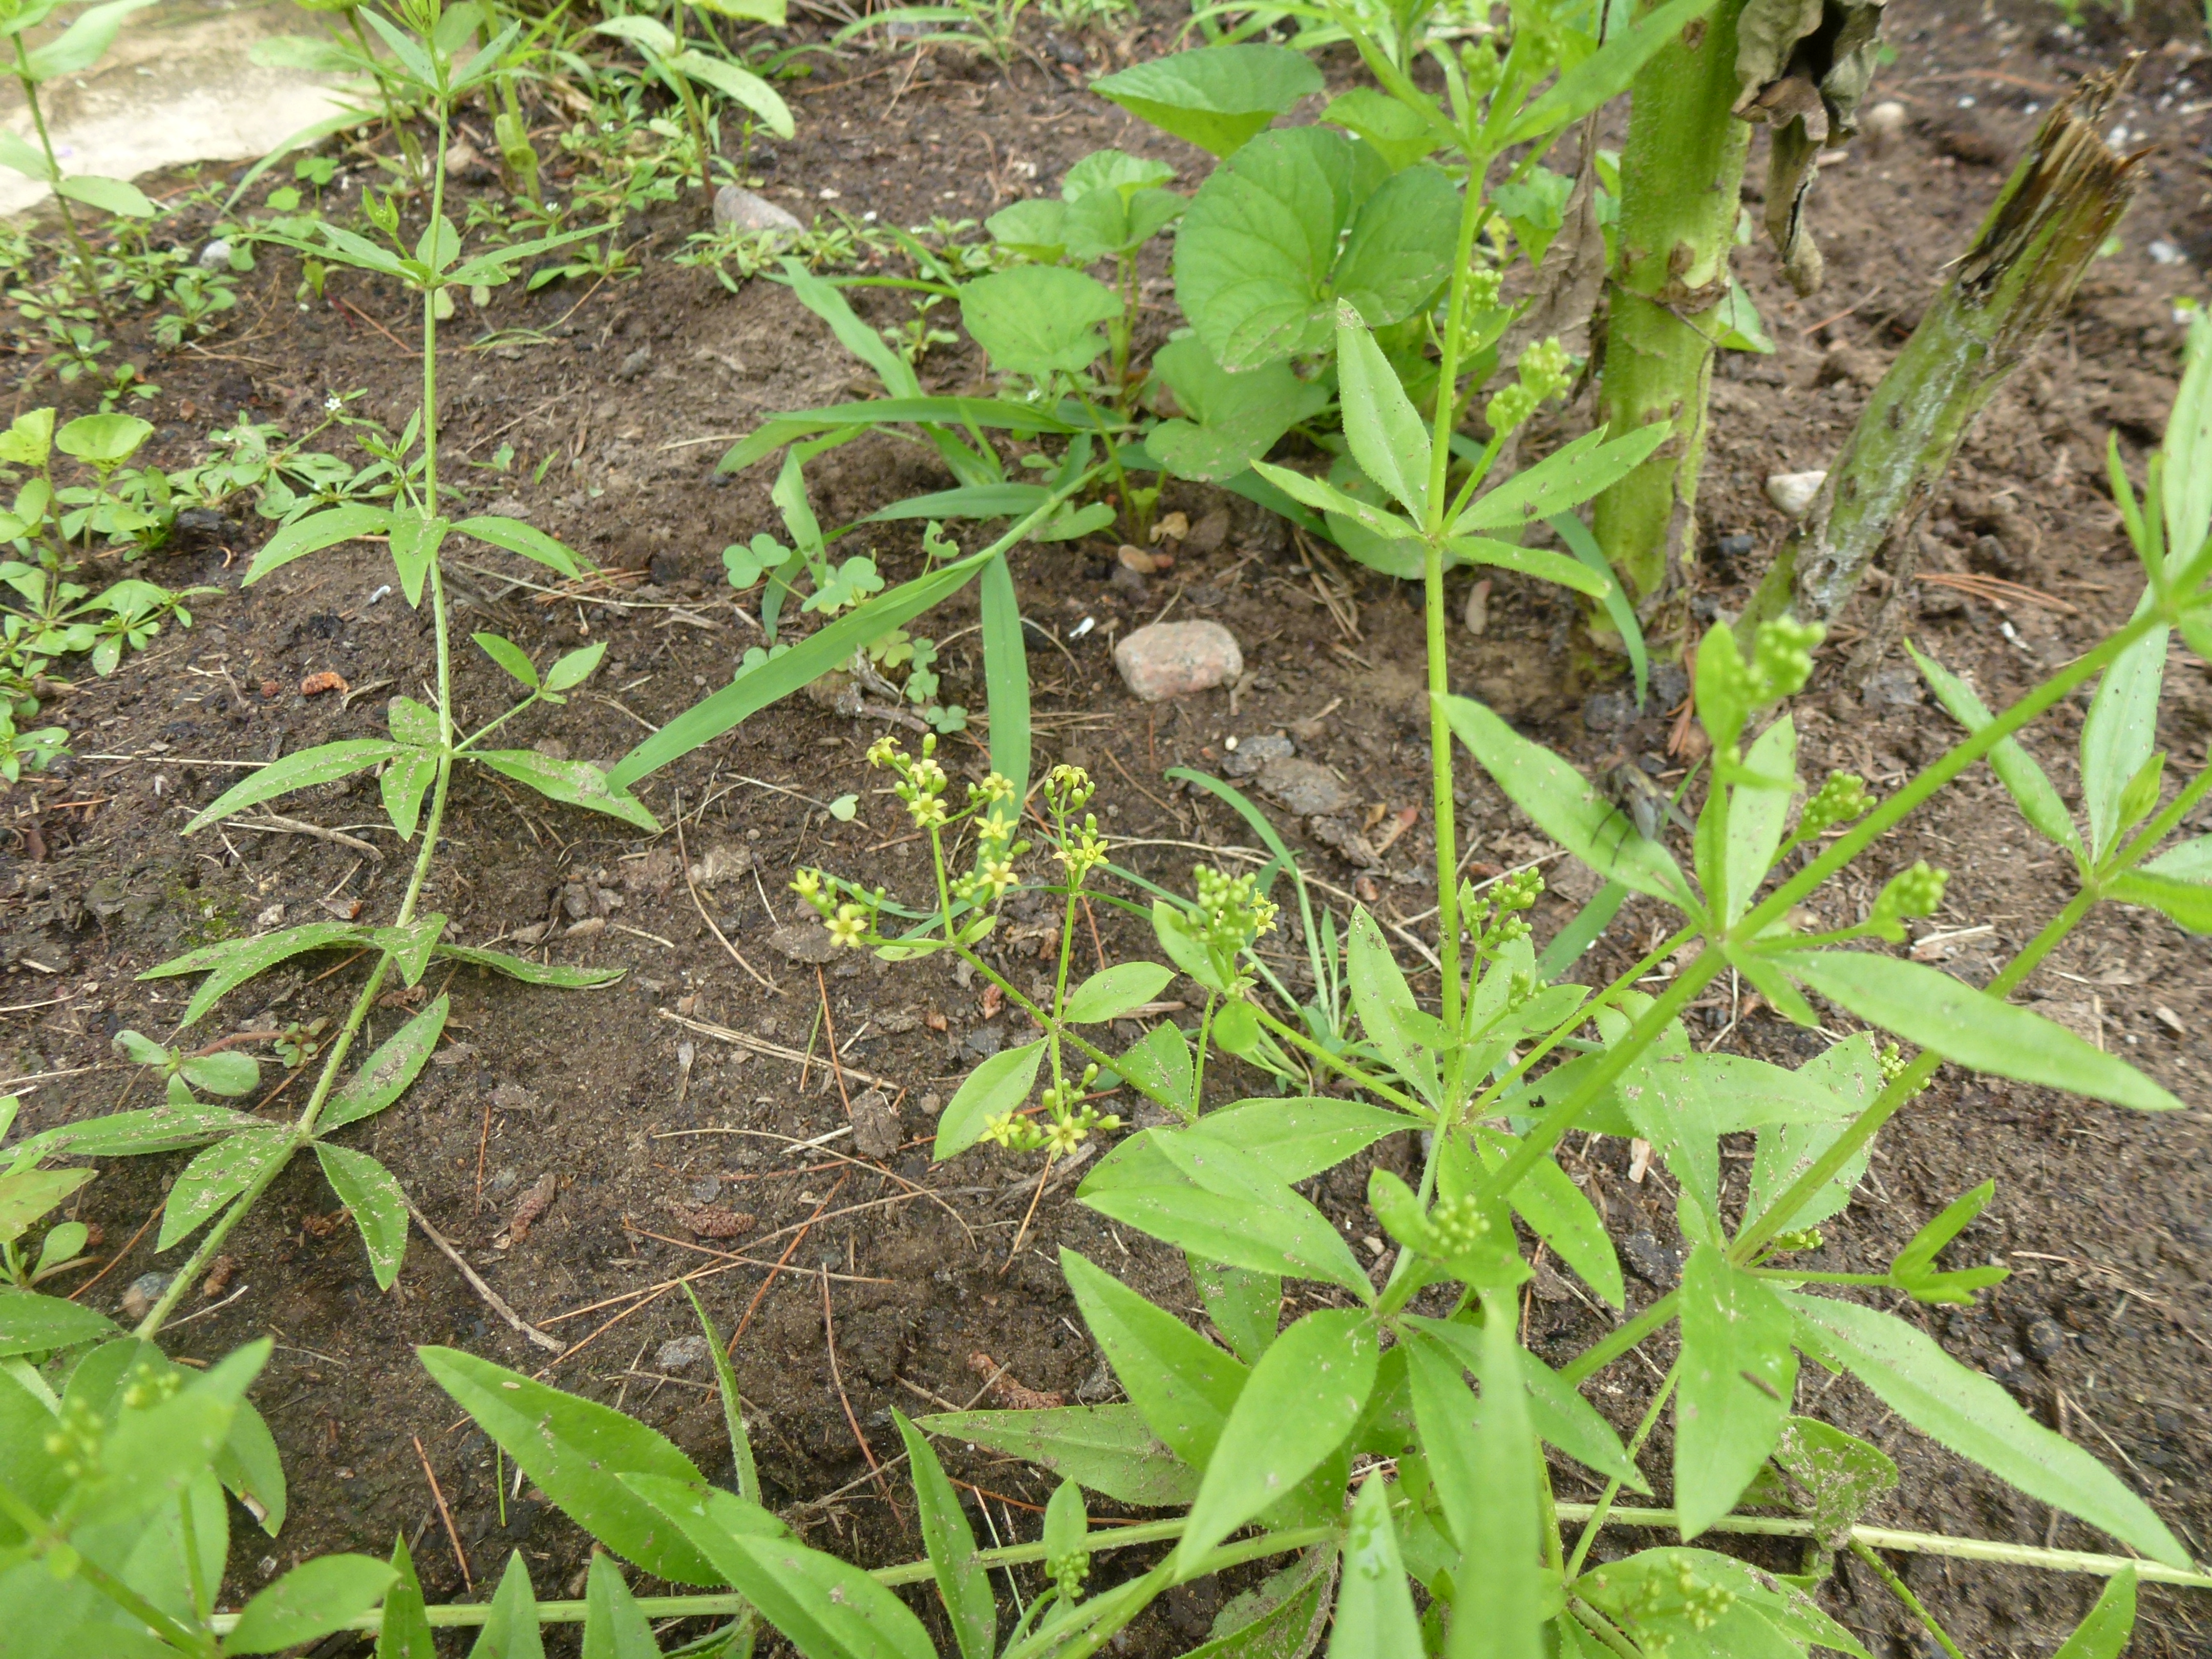
Feeds:
Posts
Comments

Posts Tagged ‘natural dyeing’

P1000706

Madder blossoms

The Madder plants that I have been growing for the past three years were all started from seed. The germination rate has been very good – I’d say over 75%, and the plants were fairly easy to transplant into the garden. Once established (second or third year) they started to spread nicely and this year some second-season plants have bloomed!

There is still some room in the Madder patch, so I’ve attempted 2 methods to establish some additional plants – cuttings rooted in pots of soil, and using wire staples to keep longer shoots on existing plants in place in the soil so they develop roots of their own, much like strawberry runners do.

The cuttings are a second attempt – first time I put some in a jar of water (with a small shoot of willow to encourage rooting) and all they did was rot. Most of the cuttings in pots rotted as well, but a couple did root and have now been planted out in the Madder patch.

I think it’s too soon to tell if the shoots held down in the soil with staples (made from lengths of hanger wire) are rooting themselves. They do look healthy, but they are still attached to the parent plants.

Madder appears to be a nice hardy plant in our 3a (Canadian climate) zone. It grows best in the same conditions that Lavender likes.

I’ve tried all the same methods to propagate Lavender, with no success – has anyone been able to propagate Lavender from cuttings? How did you get it to root?

P1000690

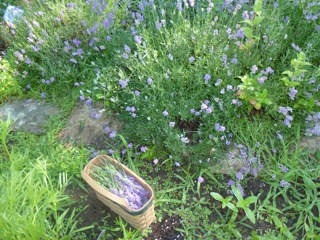
Lavender that will not root

Read Full Post »

Coreopsis and Calendula next to Woad (right side)

In spite of a hot, dry summer, the dye garden has done reasonably well. The flax and Japanese Indigo didn’t thrive, but the Woad, Coreopsis (Dyer’s Tickseed) and Calendula did very well. Several weeks ago, I cut some stalks of Weld and popped them in the freezer to use later (when I get around to spinning enough wool and cotton to sample with). Today I picked the Coreopsis and put it in the freezer too. I’m not sure if it will work as well as it would fresh, but I think it’s worth a try.

50 grams of fresh Coreopsis blossoms

The cotton plants that are out in the garden, and not in pots, are very small, but I was happy to see that one of them is now sporting two little “squares” – so with some help from a row cover this fall, perhaps we’ll see some garden-grown bolls.

Two Cotton squares (either side of stem, under top leaves)

Read Full Post »

Woad Plant

The Woad and Japanese Indigo plants in the garden have grown reliably, as have the Indigo plants in pots in the porch. I took a first harvest of all three types of leaves and tried my first-ever indigo vat(s).

There were about 102 grams of Woad leaves, so I processed them following the directions in Jenny Dean’s book “Wild Colour”.

Combined, the Indigo and Japanese Indigo leaves only weighed 35 grams, so I tossed them together in a second pot.

The directions for Woad called for boiling water poured over the leaves, which resulted in a nice brew that looked like rooibos tea. Soda ash is then added and the mixture is whisked to incorporate air. The oxygen is then removed by adding thiourea dioxide. Small skeins of cotton and wool were dipped and then exposed to air, at which point they developed a shade of blue.

The directions for Japanese Indigo called for cold water that is then heated to just below boiling temperature. This is the point where I started to go wrong. I let it boil, and then didn’t see any change in colour, so I kept adding soda ash and thiourea dioxide. Still no reaction until I dipped the wool skein which foamed up and promptly disintegrated. The cotton skein didn’t fall apart like the wool, but didn’t pick up any colour either. I think I had way too little dye-stuff to start with, and added way too much soda ash. I added the cotton skein to the Woad pot which added a pale blue shade when exposed to the air.

Left: Cotton dyed with Woad. Middle: Wool dyed with Woad. Right: Cotton added to Woad pot after most of the dye was exhausted.

Here are the results. The Woad was especially nice and easy to work with and I’ll try all three plants again, but it will be a challenge getting enough Indigo leaves as they weigh next to nothing.

Read Full Post »

wool simmered and soaked overnight (left), wool soaked overnight (right)

To test the dye potential of the Black Walnut hulls I’ve been removing, I soaked a small skein of yarn overnight in the tub where the walnuts have been soaking in water. I liked the colour so much that I decided to make a proper dye-bath to see what would happen.

I half-filled my dye-pot with hulls, added enough water to cover them and simmered the liquid for an hour. The pot was then cooled and the hulls filtered out, leaving a very dark brown dye-bath. A pre-wetted skein of wool was added and the pot was retuned to a low heat and simmered for another hour. The heat was then turned off and the skein was left to soak in the dye-bath overnight. Here are the results – I think I like black walnut dyeing!

Read Full Post »

The first week of September, the nuts started to fall. This appears to be the best year yet for quantity and there are plenty to share with the red squirrel who is very territorial about them.

To actually use the nutmeat, the outer covering must be removed, then the shell cracked and the edible parts removed. Sounds simple, but the outer covering is tough and the shells are incredibly hard to crack without pulverizing the nut inside.

Stage One:

Soak the nuts to soften up the outer covering so that it can be removed.

It takes about a week of soaking to soften up the fresh green hulls.

Stage Two:

Remove the hulls with a sharp knife (wearing old clothes and rubber gloves!) and then clean the shells with a pressure washer. Many of the nut shells are completely blackened by contact with the juice in the hulls, but I don’t think it affects the flavour of the nutmeat. The liquid is a powerful natural dye, and I plan to save the hulls and experiment with it as a dyestuff.

Lay the nuts in a single layer on a screen to dry.

Stage Three (future):

Crack the shells – I use a heavy hammer on a concrete floor and cover the the nuts with a tea towel to prevent the sharp shell fragments from flying.  The inner sections of the shell are also very hard, so it’s a challenge to get reasonably sized pieces. Store the nutmeat in the freezer unless it is used right away. The nutmeat can be lightly toasted before use.

A small mystery:

Amongst the Black Walnuts, we’ve found a few Butternuts. We don’t posses a mature Butternut tree, but suspect that a squirrel passing through with a butternut decided that a walnut (being bigger) was a better find and dropped one nut for the other.

Read Full Post »

Cotton Bolls

The cotton plants are still blooming and the first bolls are growing rapidly. I’m becoming more confident of having some that will actually ripen, so I may transplant some of next year’s plants into the garden instead of keeping them all in pots as I did this year.

The pots I’ve used aren’t really big enough to permit a nice large plant to form, but they do seem to take well to the tomato-booster fertilizer spikes.

The indigo in the screen porch is still doing well, but I think I’d need several acres-worth to have enough leaves to harvest for the dye pot. The Japanese Indigo seems more promising as it’s a faster grower in the garden, while the verdict is still out on the woad.

Flax (background) and Japanese Indigo

My first experiment in retting flax appears to be a failure as the fine fibres are breaking along with the rest of the straw when I attempt to separate them. I think this is due to over-retting, so I’m soaking another sample of the flax straw and this time I’ll test the ph level in the soaking water with litmus paper daily during the retting period so I don’t overdo it.

Another source of trouble may be the maturity of the flax straw itself – I may not have pulled it soon enough, so I’m keeping an eye on this year’s crop. Some of it is still blooming, while most of it has green seed pods with some yellowing of the stalks. It will probably be ready to pull this week.

Brown Eyed Susans

Another naturally-occurring dye plant that I’ve picked for later use are the Brown-Eyed Susans which are in full bloom right now.

Read Full Post »